Some filaments are more hygroscopic than others meaning they more readily absorb moisture from the air. TPU and PVA are some of the worst, but PLA and ABS can also become moist especially if they have been sitting out for months or possibly even just weeks during humid times of the year. When printed moist filament can be stringy and have bubbles were bumps in the print layers. Sometimes you can even hear a popping as the moisture evaporates going coming out of the hot end.
I initially tried using vacuum storage bags with desiccant pouches in them. The storage bags kept the filament dry but were inconvenient to reseal when I was done printing. For filament I don’t use often this is an easy and cost-effective method of storage.
I couldn’t be happier with the solution I’m using for my everyday filaments; it keeps them dry and organized.
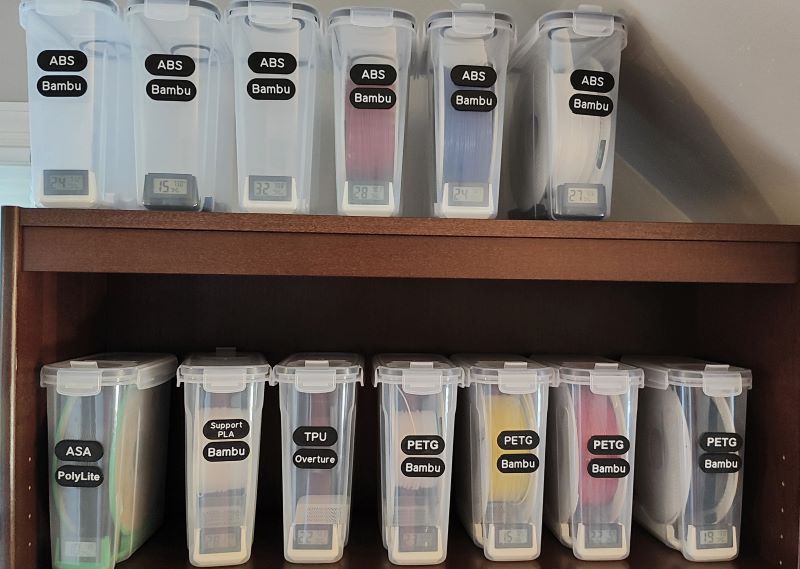
Components needed:
- Amazon: Air tight cereal boxes (others may work, but this one definitely does)
- Amazon: Mini Hygrometer (others may work they seem pretty standard)
- Amazon: Desiccant Beads (any desiccant beads will work)
- Amazon: CA Glue (any CA will work)
- 3D Model: Spool and Desiccant Holder
- 3D Model: Backing for Drybox Quick Swap Filament Labels
- 3D Model: Quick Swap Filament Label for Drybox
Steps:
- Order the Amazon stuff you need. Most of items can be interchanged, the cereal boxes need to fit to the shape of the holders which I had a tough time finding.
- Print spool and desiccant holder. PLA, PETG or ABS all should work just print both pieces with the same material, so they shrink the same amount.
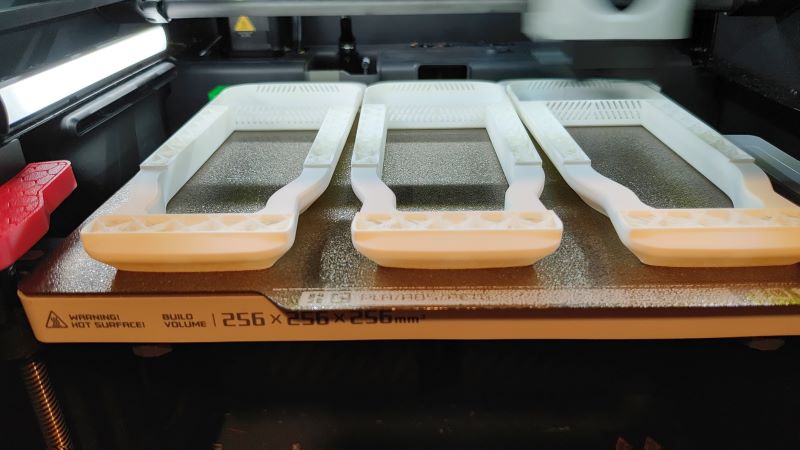
- Print the backing for the labels that will be glued to the containers. You will want 2 for each container, 1 for the filament brand and one for the type. For extra organization you could include a 3rd for the color. I used PETG but PLA and ABS should work but use the same material for the backing and label. I’d recommend printing 1 backing and 1 label and test the fit with your material of choice before a mass printing. You want the pieces to have some friction to keep the label from sliding off on its own but not so much that you risk pulling the backing off the cereal box.
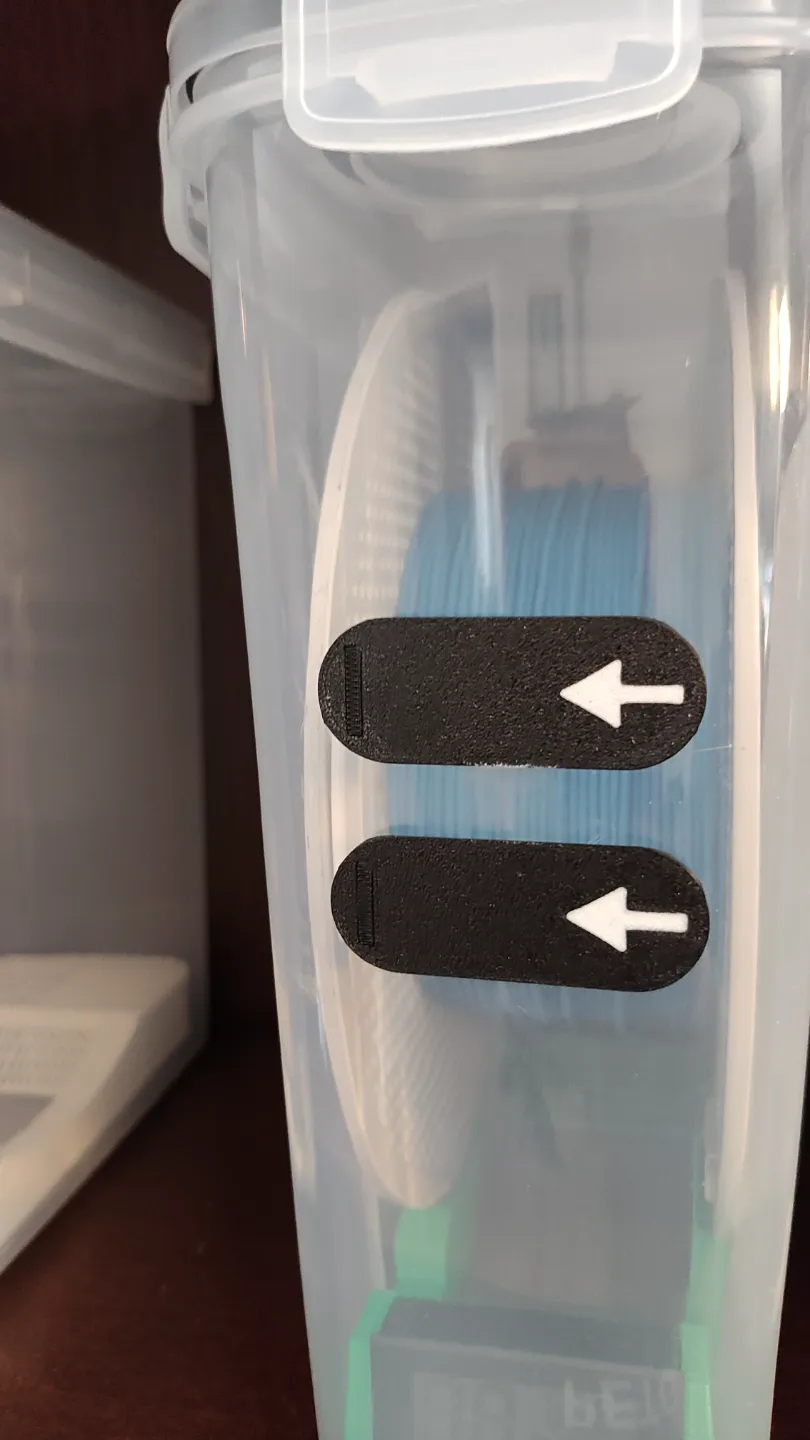
- Print the labels. You do not need to the print the base plates, only the labels you want. I found it easiest to use the blank label and add the text in the slicer since every filament brand and type isn’t covered.
- Attach the label backings. Apply a big drop of CA glue on the center base plate and then attach to the dry box with tape to keep it in place while it dries. You’ll wanted the arrow to point to the left for the labels to slide on correctly.
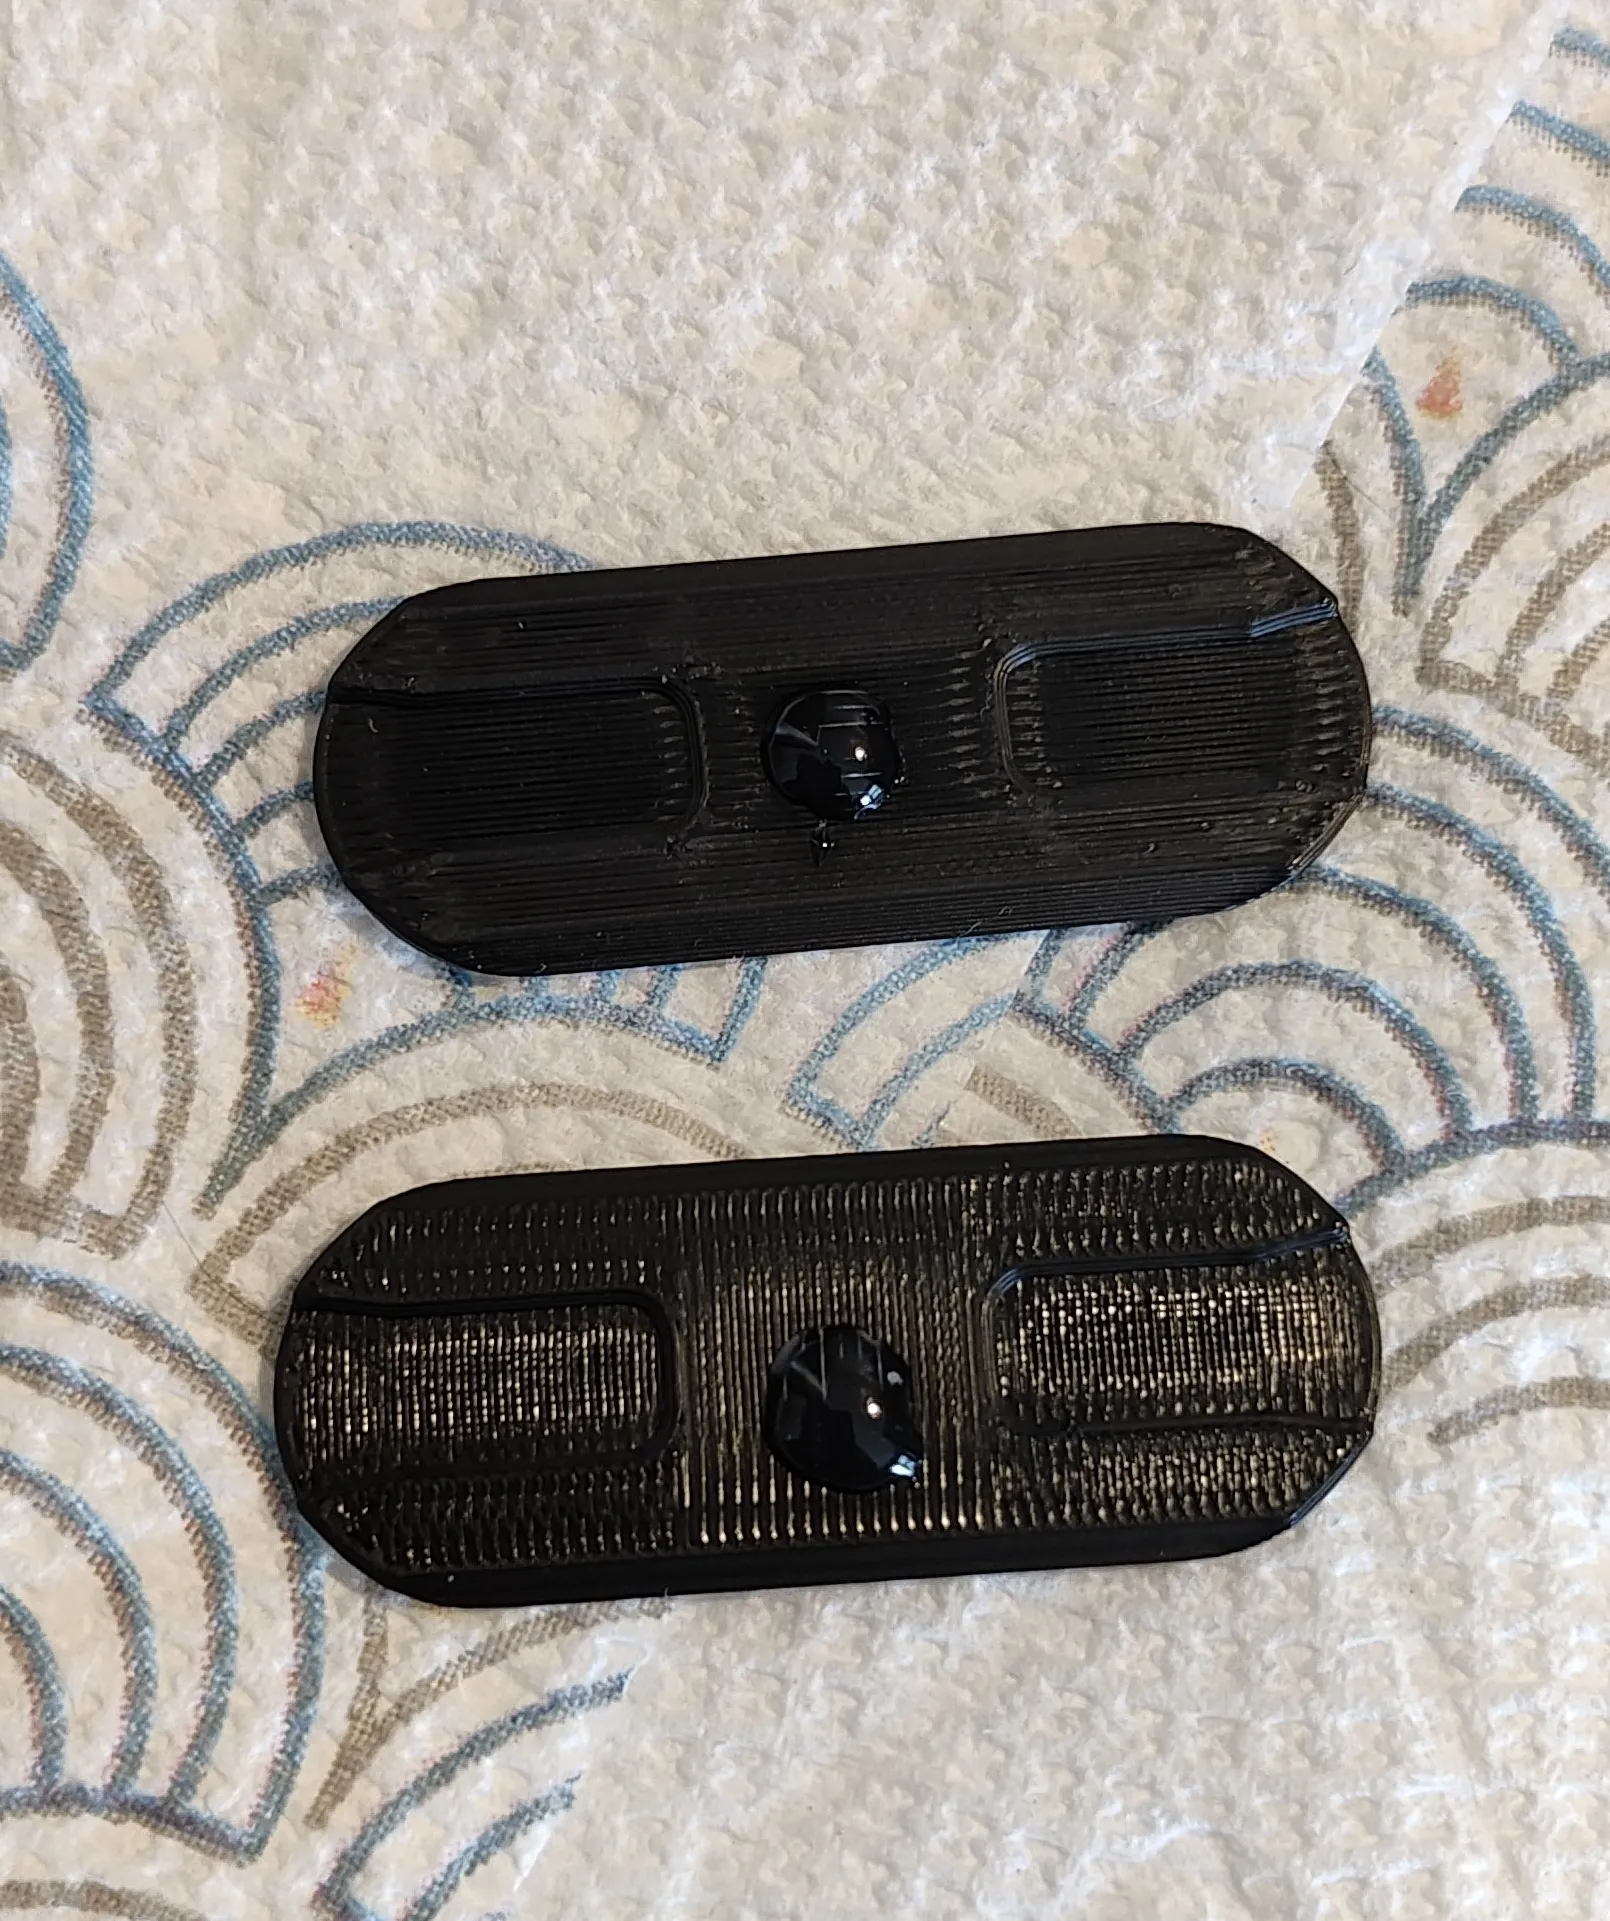
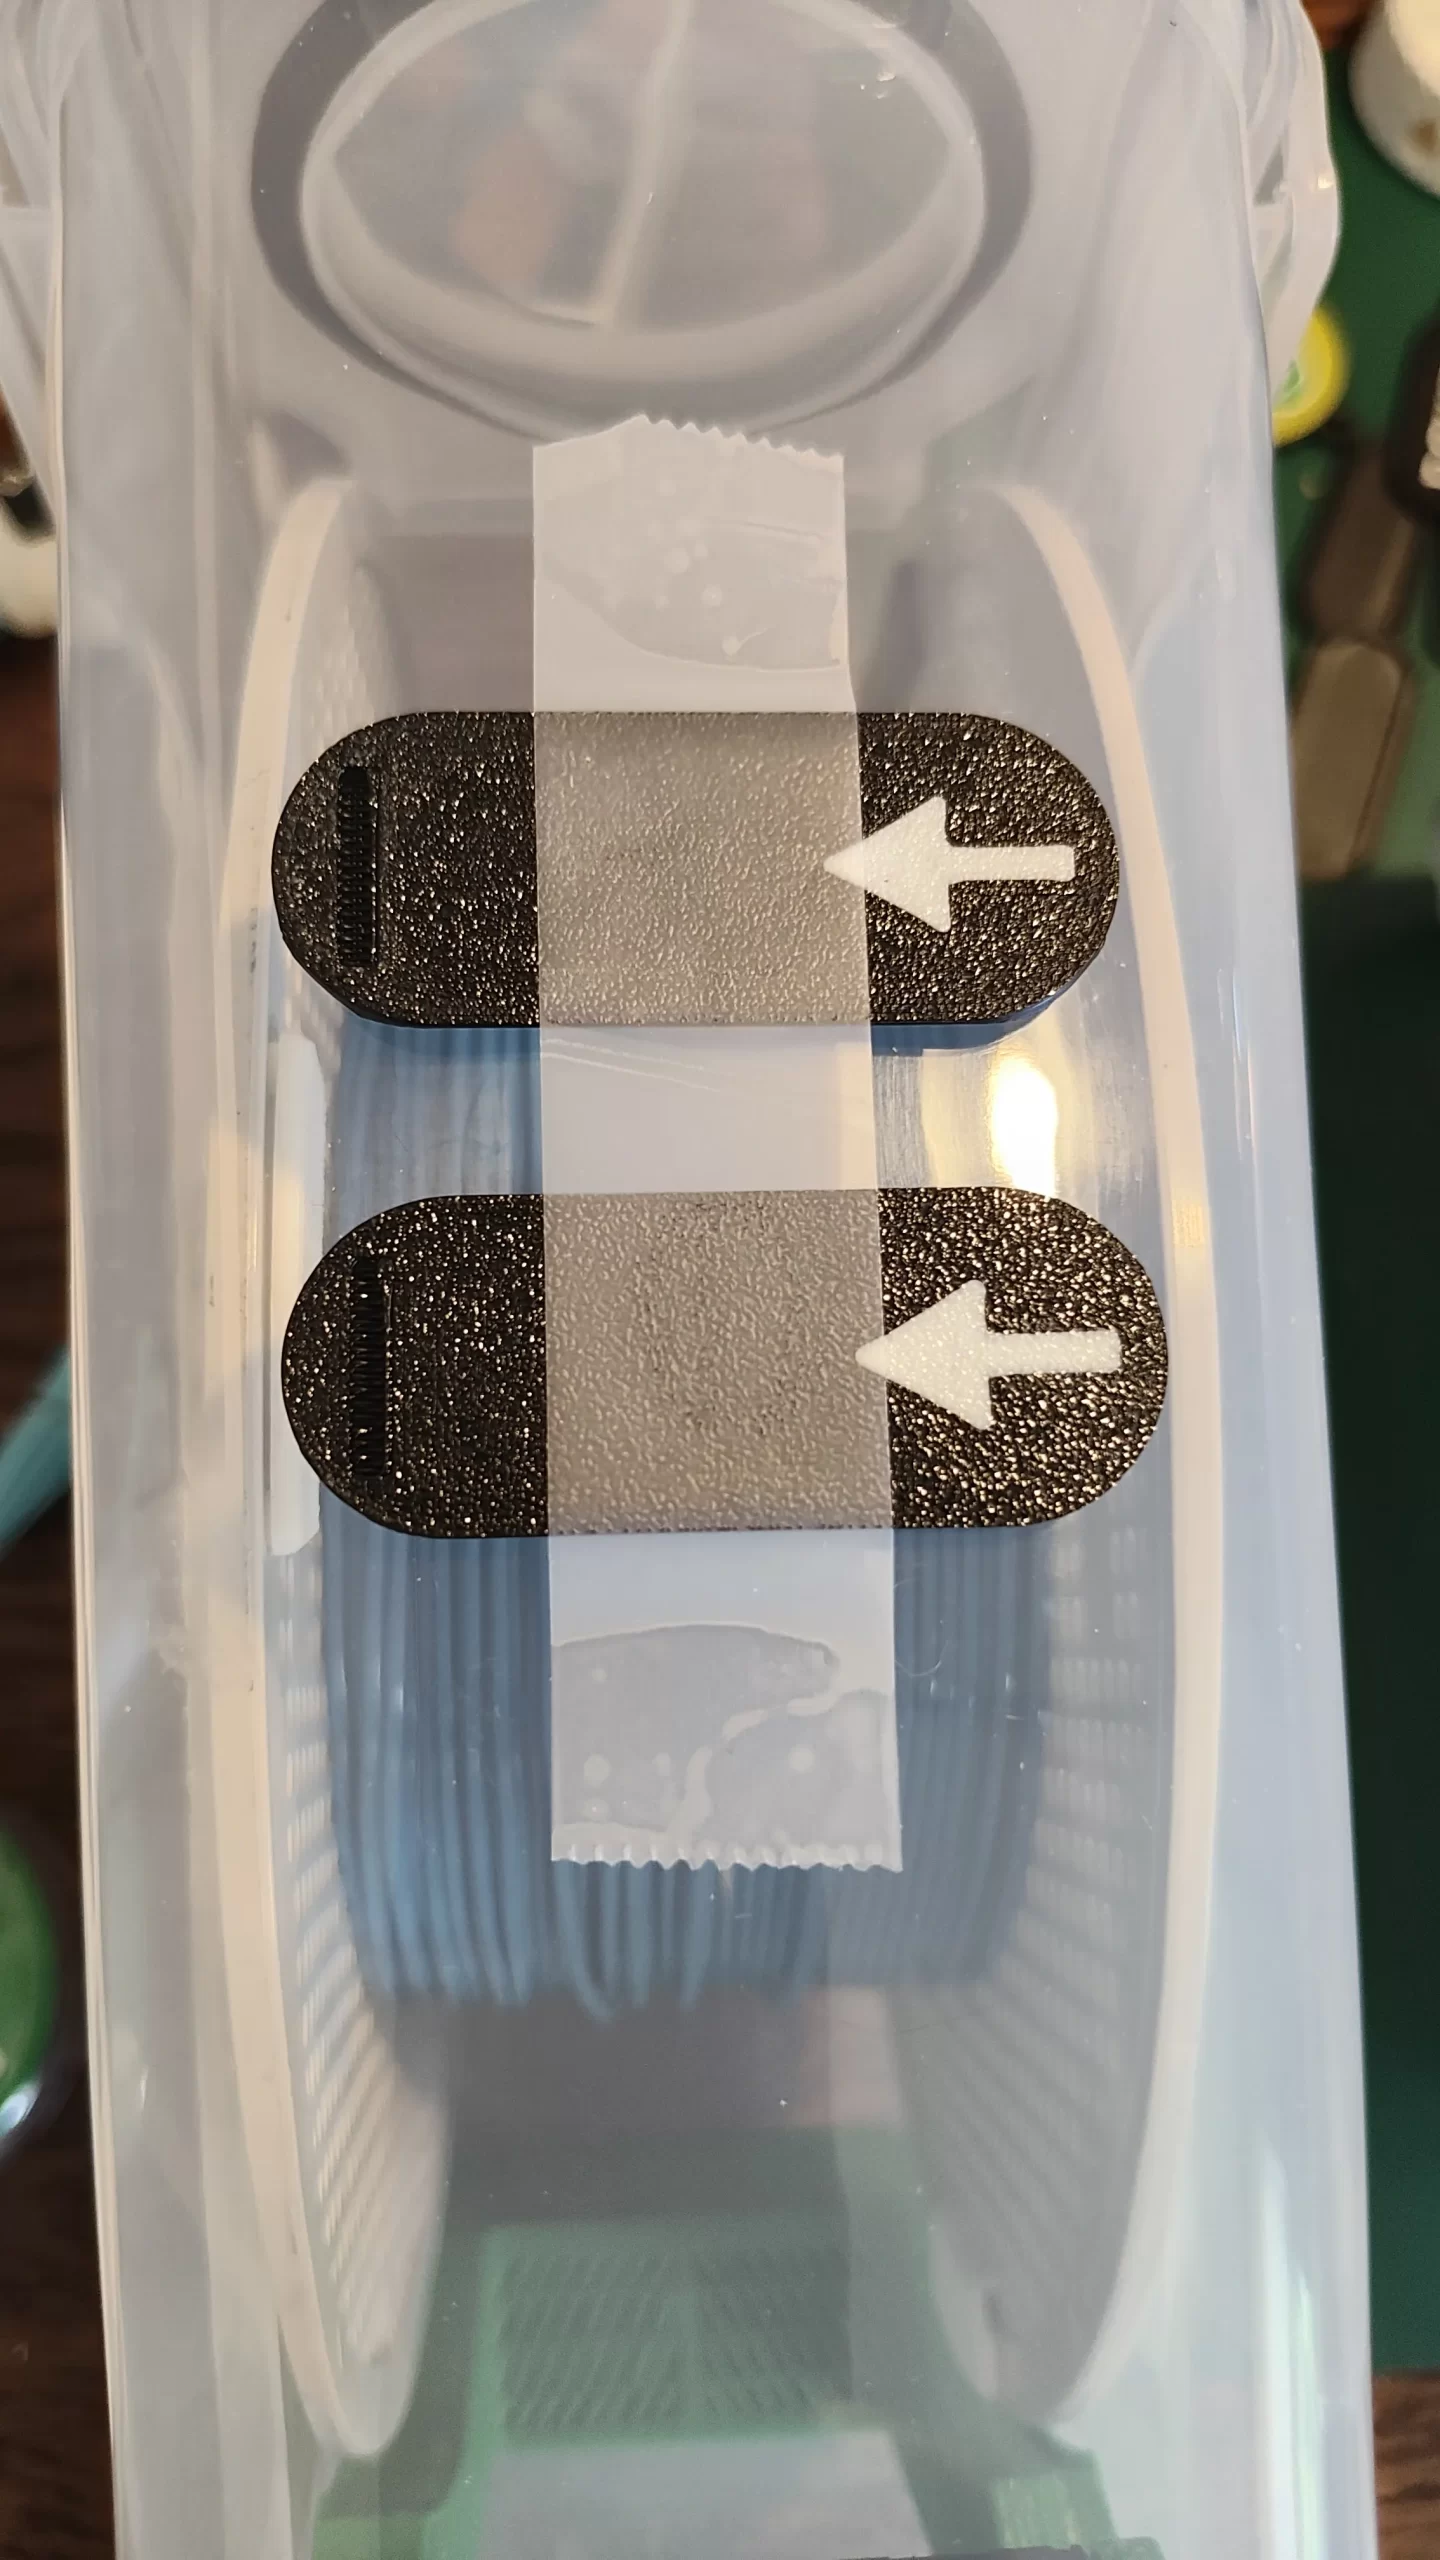
- When the CA glue is completely dried test fit the labels.
- Fill the spool holder with the desiccant beads and slide the cover on.
- Crack open a beer or beverage of your choice and admire your work.
